Your kid walked across a stage. They earned the tassel, the diploma, the moment. And now you're planning a party that looks exactly like every other graduation party on the block: folding tables from the garage, a poster board of photos, and a grocery store sheet cake.
There's nothing wrong with simple. But if you're reading this, you probably want something more.
The good news: "more" doesn't require a massive budget or a wedding planner. It requires intention. A few deliberate choices about layout, lighting, and flow can turn a standard backyard gathering into something your graduate actually wants to post about.
Here's how to get there.
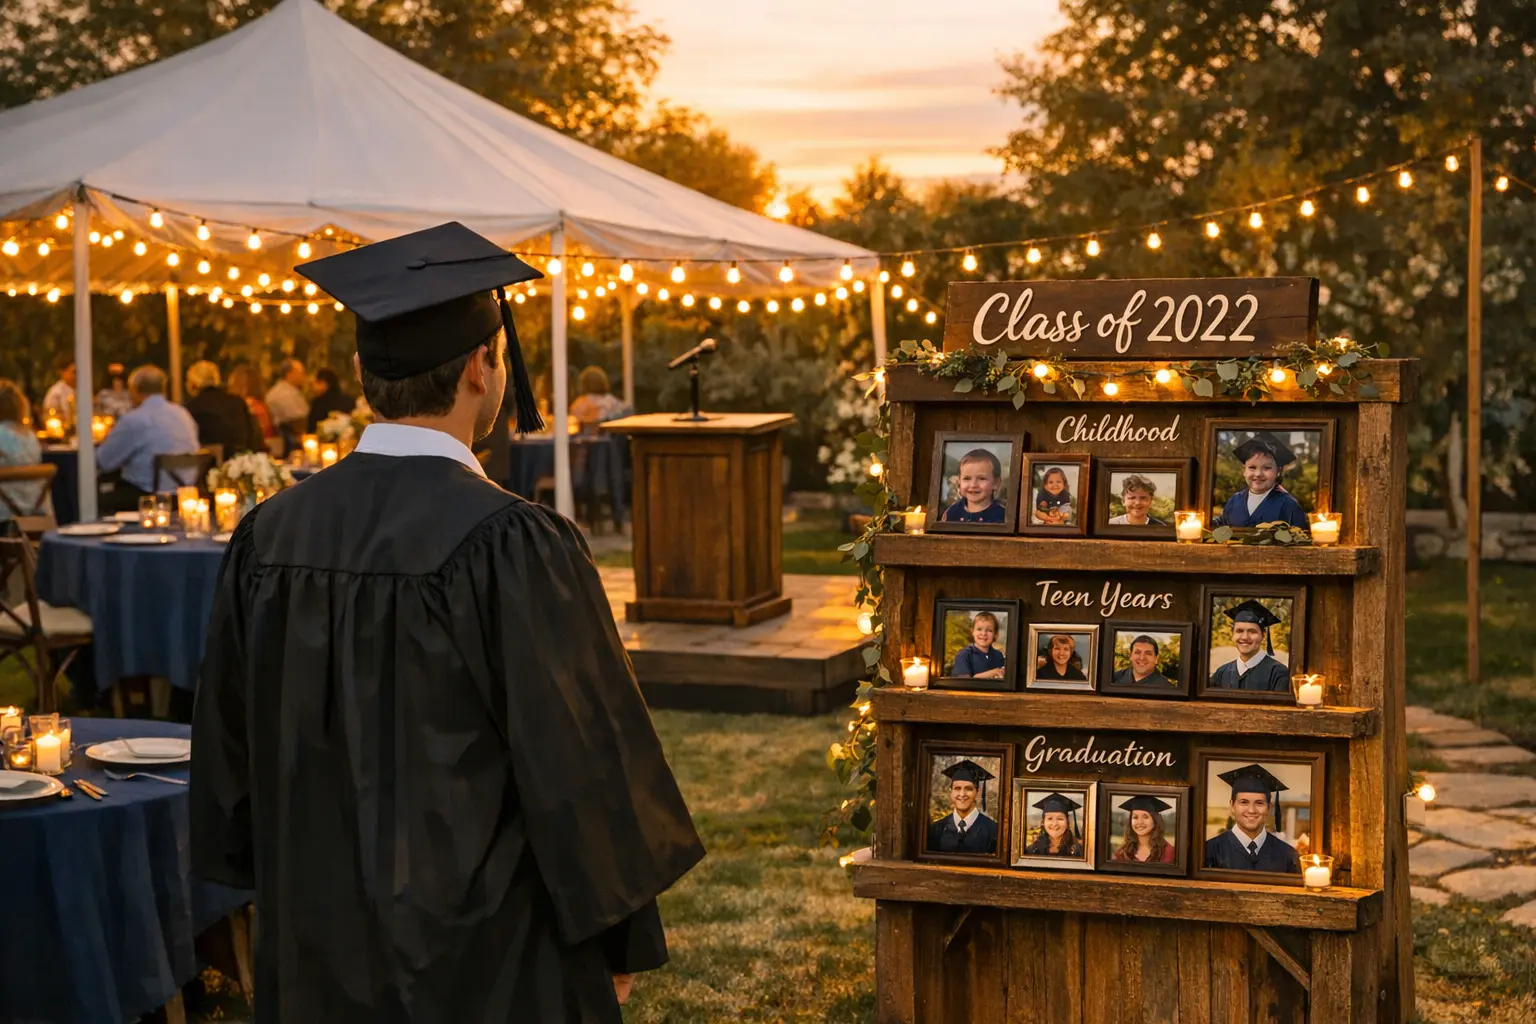
Rethink the Photo Display
The poster board collage has been the default for decades. It works, technically. But it also gets ignored after the first five minutes because guests have seen this exact setup at every graduation party since 1987.
Try this instead:
A dedicated photo timeline station. Set up a six-foot or eight-foot banquet table with a floor-length linen in your graduate's school colors. Arrange framed photos chronologically from left to right, kindergarten through senior year. Add small labels with ages or years. Guests will actually walk the timeline and linger.
If you want more height and visual interest, rent a backdrop frame or pipe-and-drape setup. Clip photos directly to string lights or wire, creating a floating gallery effect. This works especially well for evening parties when the lights add warmth.
The key: Treat photos as an installation, not an afterthought. Give them dedicated space away from the food traffic.
Create a Real Stage for Speeches
At most grad parties, the "speech moment" involves someone awkwardly clinking a glass while guests strain to hear over the playlist. The graduate stands wherever they happen to be standing. Uncle Mike's toast gets lost in the shuffle.
A small platform changes everything.
Even a 4x4 or 4x8 stage riser creates visual separation. The person speaking is suddenly somewhere. Guests naturally orient toward them. Add a wireless microphone or small PA system, and you've solved the audio problem too.
Pair this with a projector setup if you're doing a slideshow. A portable screen behind the stage keeps the focus in one direction and prevents the chaos of everyone crowding around a laptop.
This doesn't need to be elaborate. A compact stage, a microphone, a screen. Fifteen minutes of setup creates a moment that actually lands.
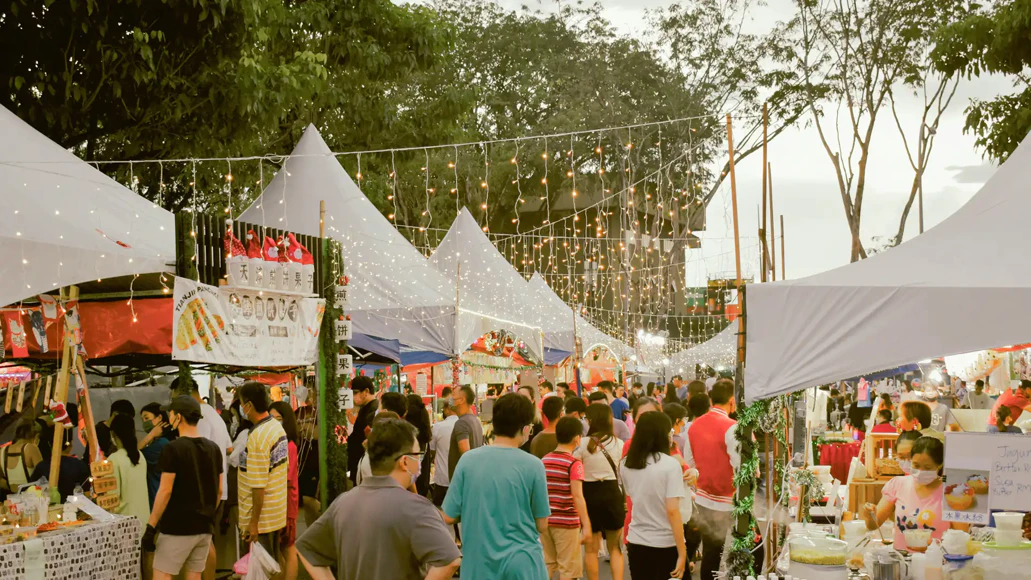
Use a Tent Even If the Weather Looks Fine
May in Pennsylvania is unpredictable. You know this. But weather backup isn't the only reason to consider a tent.
Tents create definition. They signal "the party is here" in a way that an open backyard doesn't. They provide shade during afternoon events. They anchor your layout and give you something to hang lights from.
A 20x30 frame tent comfortably covers about 60 guests with room for tables, a small dance area, and circulation space. Add sidewalls only where you need them, maybe on the west side to block late afternoon sun, or leave them off entirely for an open-air feel.
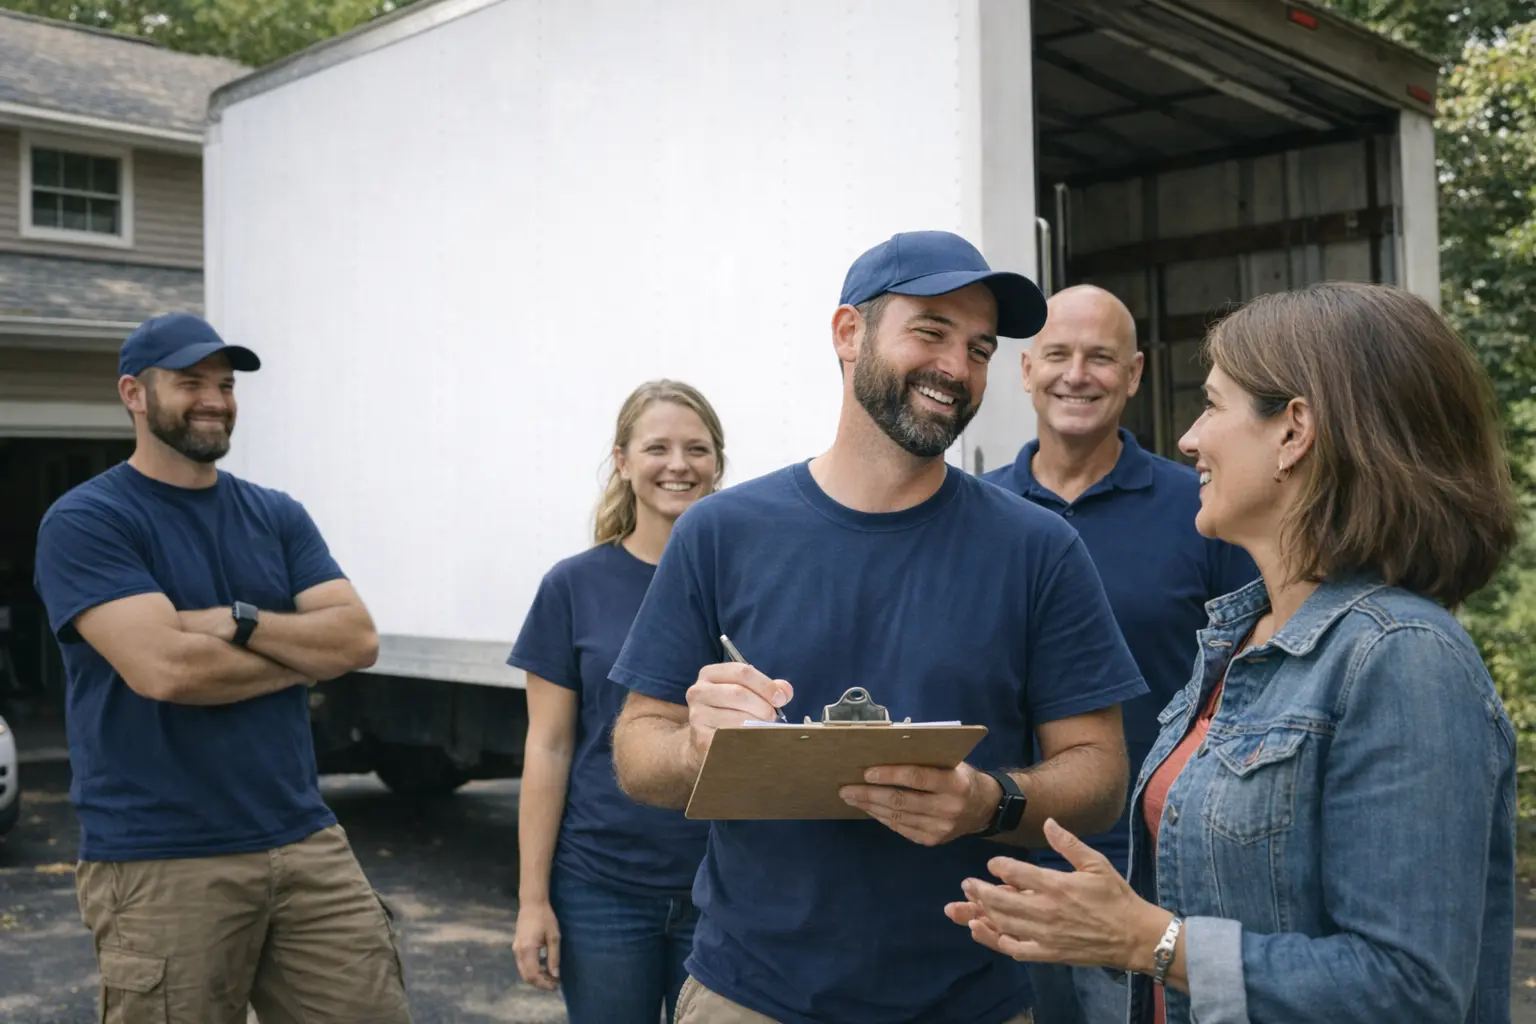
Pro tip: If your backyard has an awkward slope or uneven ground, talk to your rental company early. Tents can go up on most surfaces, but knowing the terrain helps with planning the right setup.
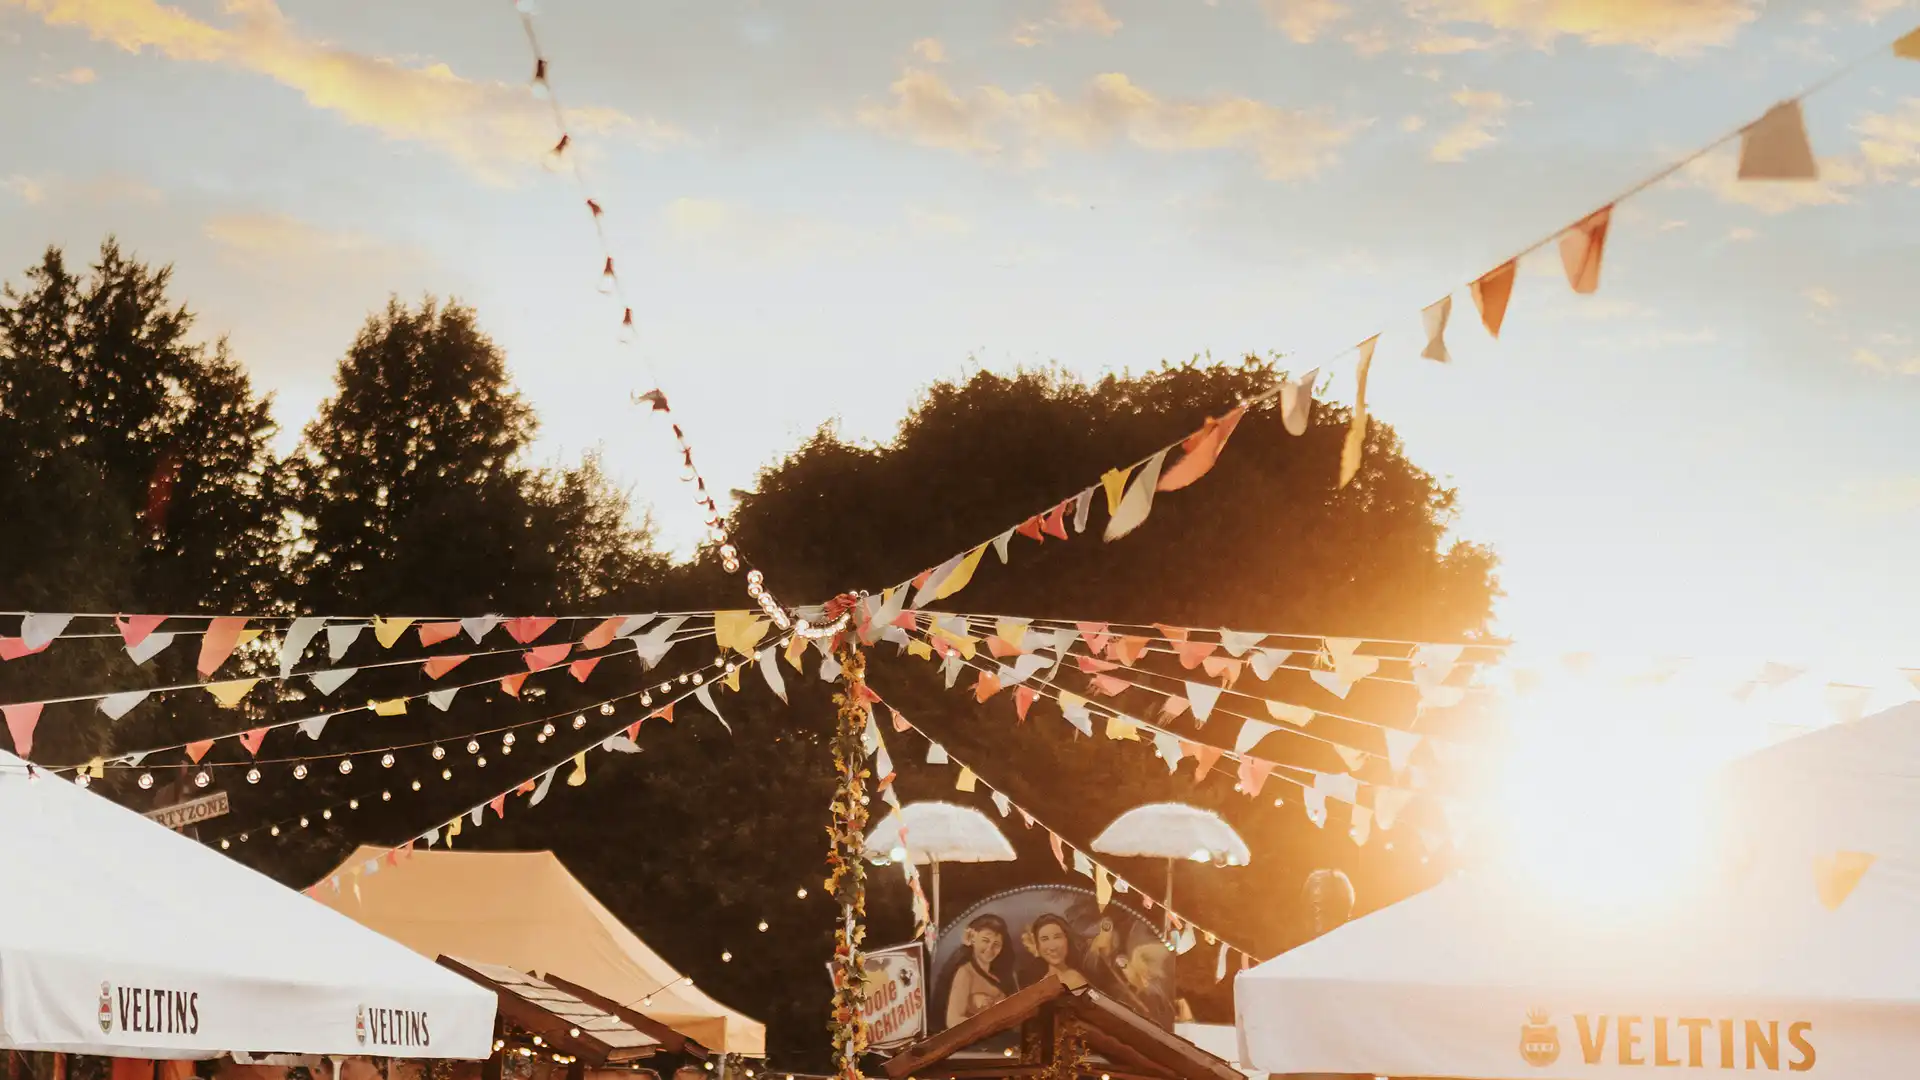
String Lights Are Non-Negotiable
Nothing transforms a space faster than lighting. And nothing is easier to underestimate.
Standard backyard lighting (porch lights, maybe a few tiki torches) creates flat, unflattering ambiance after sunset. Bistro string lights fix this immediately. They're warm without being dim, festive without being cheesy.
Where to hang them:
- Across the tent ceiling in parallel rows
- From the house to a tent or tree line, creating a canopy effect
- Around the perimeter of a patio or deck
If you're renting a tent, ask about integrated lighting options. Many rental setups include mounting points specifically for string lights. This isn't a DIY-with-extension-cords situation unless you want it to be.
Give Food Service Room to Breathe
Here's a mistake that happens constantly: all the food crammed onto one table, guests forming a single-file bottleneck, plates colliding, the mac and cheese getting cold while someone debates salad options.
Separate your stations.
Put drinks on their own table, ideally near the entrance so guests can grab something immediately. Main food on a longer buffet setup with access from both sides. Desserts (including that sheet cake, if you're doing one) on a third station near the seating area.
This sounds like more tables. It is. But the flow improvement is dramatic. Guests spread out. Lines disappear. Food stays at proper temperatures longer because you're not opening every chafing dish at once.
If you're serving alcohol, consider a separate beverage station with a skirted bar table. It creates a natural gathering point and keeps drink traffic away from the food line.
Consider a Dance Floor (Yes, Really)
"We're not doing dancing" is what every parent says until the playlist hits right and suddenly a dozen teenagers are trying to dance on grass.
A portable dance floor isn't about forcing anyone to dance. It's about giving them permission. A defined 12x12 or 15x15 section signals "this is where that happens" without requiring anyone to do anything.
Placement matters: Put it near the DJ or speaker setup, slightly separated from the dining area. You want the energy contained, not bleeding into every corner of the party.
Floors come in various finishes. For outdoor events, look for options designed to handle ground contact. Your rental company can walk you through what works for your specific yard.
Build in Flexibility for Weather
Even with a tent, you need a rain plan. Where do guests go if it pours during setup? Where does the DJ equipment live if there's a chance of wind-driven rain?
A few practical moves:
- Rent sidewalls even if you don't install them. Having them available takes five minutes to add if conditions change.
- Keep electrical setups under cover. Projectors, speakers, and microphones don't mix with moisture.
- Have a backup location for the photo display. If it's under the tent, great. If it's on the patio, know where it moves if needed.
None of this requires obsessing over weather forecasts for weeks. It just requires a two-minute conversation with yourself: "If it rains, where does everything go?"
Timeline Check: Where You Should Be Right Now
If you're reading this in early February and your graduate walks in May, you're in the right window.
Now through mid-February: Finalize your guest count estimate and start requesting quotes from rental companies. Popular dates book up, especially for tent rentals.
March: Confirm your rental order. Lock in delivery and pickup times. Nail down your layout.
April: Handle food, invitations, decorations. The structural stuff (tent, tables, staging) should already be decided.
Two weeks out: Final headcount confirmation with your rental company if quantities are flexible.
Day before: Delivery and setup. Walk through everything. Know where outlets are, where the trash goes, where you want the gift table.
Starting early doesn't mean you need everything figured out. It means the big decisions, the ones that affect everything else, get locked in while options are still available.