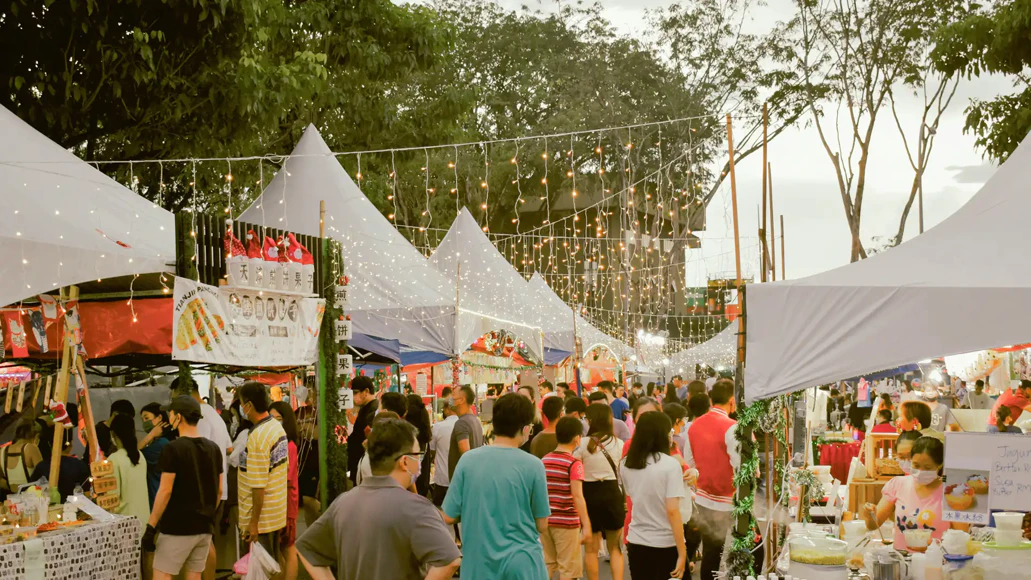


A craft fair or holiday market succeeds when shoppers can understand the place quickly. They should know where to enter, where to find vendors, where a line begins, and how to leave without backtracking through a crowd. Vendors need enough room to set up, serve customers, protect their work, and reach their vehicles at the right time. Event staff need a usable operations area. Rentals can support all of that, but only after the organizer has a map.
This guide is for market organizers planning an outdoor, tented, or temporary event in Montgomery County and nearby communities. It is not permit, electrical, fire, or accessibility advice for a particular property. Confirm site rules directly with the authority that applies to your property. Confirm current HPR inventory, equipment suitability, and installation details before booking.
Count spaces before choosing tents
Start with the number of vendor spaces you want to sell or assign. Then separate that number from the space needed for check-in, organizers, restrooms, food, waste, storage, and circulation. A market of 20 vendors is never just 20 booths. Every space needs an approach, a departure path, and room for a shopper to pause without stopping everyone behind them.
Create a planning list that includes:
- Vendor count, booth width and depth, and the type of goods each vendor sells.
- Location of entrances, exits, restrooms, accessible parking, and emergency access.
- Staff check-in, vendor check-in, information point, and lost-and-found location.
- Food or beverage areas, seating, waste stations, and any entertainment area.
- Delivery and vehicle schedule for rental crews, vendors, and food operators.
- Existing outlets, anticipated electrical loads, and the person who will approve power use.
Use the site’s actual dimensions, not a rough estimate. Measure the usable footprint after excluding landscaping, slopes, doors, fire lanes, utility features, and areas the property owner says must stay open. Share that map with the rental team early.
Choose the event format
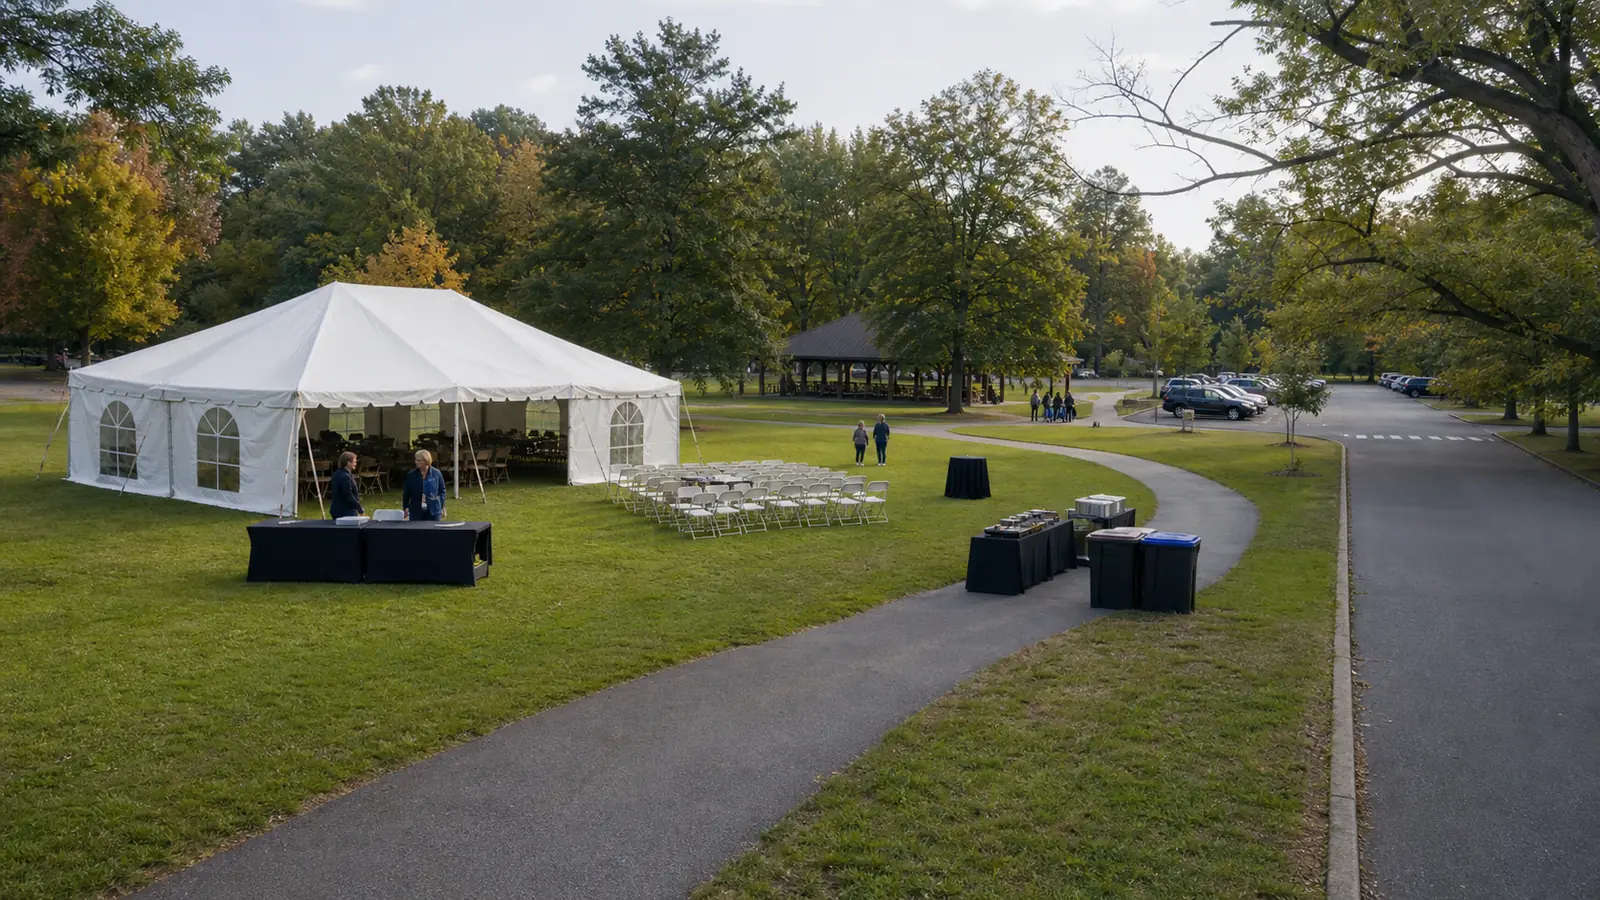
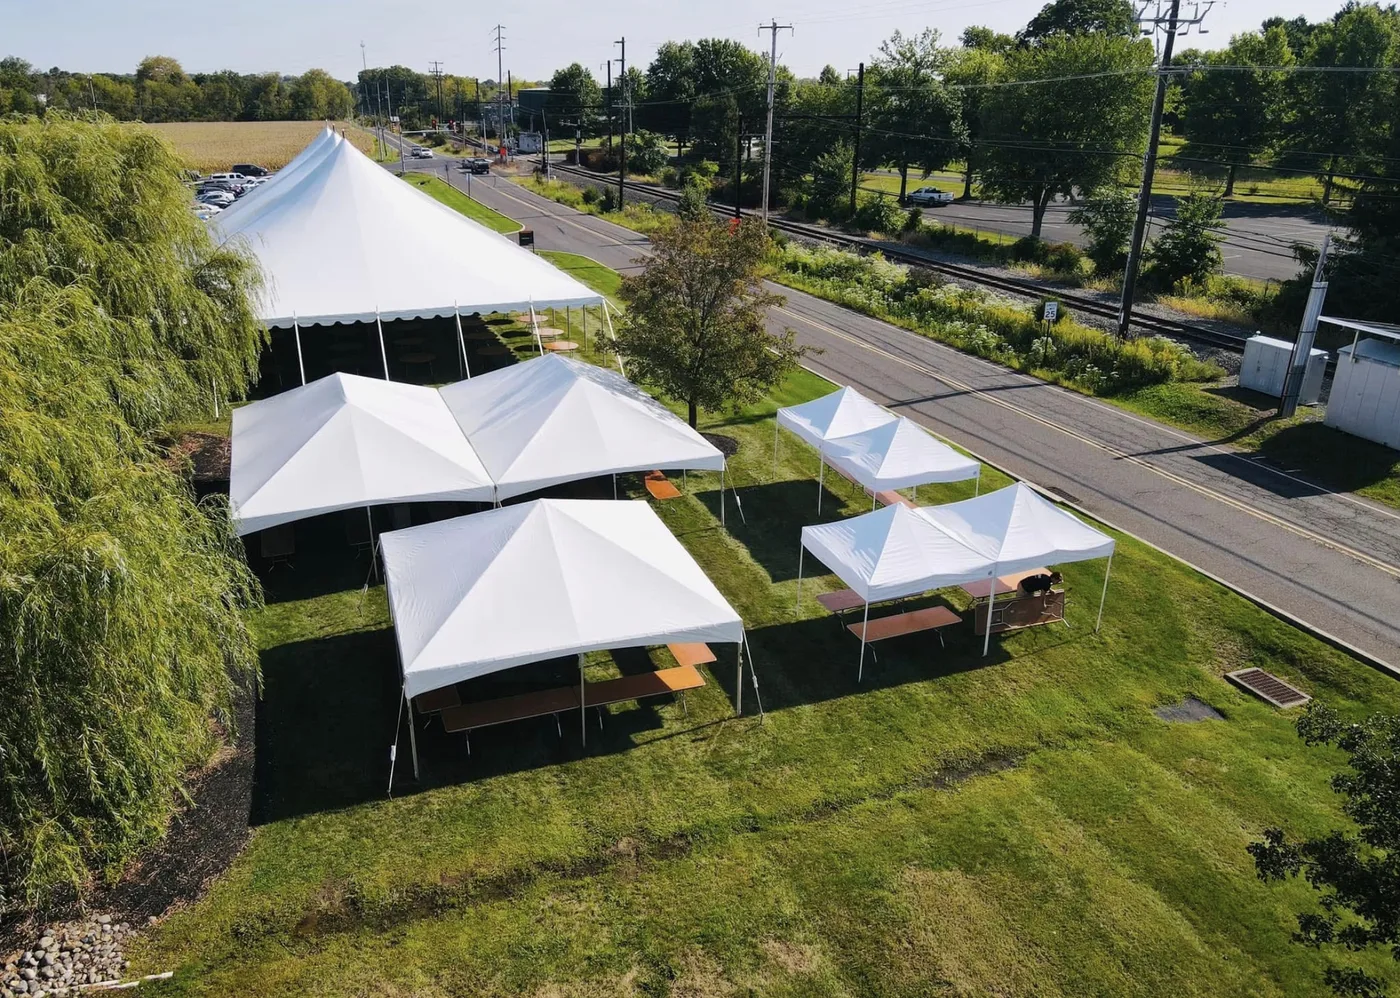
A market can use one large tent with an interior grid, several smaller tents, open-air rows, indoor vendor rooms, or a mix of formats. There is no universal best answer. A single tent can create a shared weather plan and make lighting simpler, yet it needs enough circulation and clear exits. Separate tents may spread the event across a property and give vendors more individual space, yet they can create gaps in the guest route.
Talk through site conditions, surface, weather exposure, delivery access, vendor count, and event hours with HPR and the property owner. Do not assume a tent size, anchoring method, or sidewall option is suitable until the people responsible for the installation and site approval have reviewed the details.
Compare the Tents & Structures rentals with the first site sketch, then ask the team to confirm suitable options.
Design vendor booths for real shopping
Every booth should support a simple customer pattern: see, approach, browse, pay, and leave. Keep display tables inside the assigned footprint. Do not let a checkout line begin in the main aisle. Ask vendors to tell you in advance if they have tall displays, racks, product demonstrations, or equipment that needs extra space.
Give vendors an arrival plan
Vendor load-in can disrupt the event before it begins. Assign a load-in window, route, check-in contact, unloading point, and vehicle-removal deadline. Stagger arrivals if the site has one driveway. The event team should decide whether vendors can drive to their booth or must use hand carts from a loading zone. Do not let a vendor’s need to unload override a protected pedestrian or emergency route.
Provide a short vendor sheet with their space number, arrival time, parking location, booth boundaries, weather plan, electrical policy, waste instructions, and day-of contact. This limits repeated questions.
Keep the market readable
Use a visible welcome sign and a simple map. Label booth rows, restrooms, food, exits, and the information point. If you expect a line at a popular vendor or food area, assign a waiting direction before opening. Move the line away from an entrance, exit, accessible route, and emergency access path.
The U.S. Access Board ADA Standards are a useful reference when thinking about routes and access, but the venue and property owner must confirm their own requirements. Keep temporary cords, displays, sandwich boards, tables, and queue barriers out of required travel paths. A day-of walk-through can spot issues a digital map misses.
Plan power as a collection of requests
Power planning begins with questions, not extension cords. Ask each vendor whether they need power, what equipment they will bring, when it will operate, and what electrical requirements the equipment maker states. List event lighting, sound, point-of-sale devices, food-service equipment, climate equipment, and any vendor loads separately. The property owner or qualified provider should approve the power source and distribution plan.
OSHA temporary-wiring rules are written for construction settings, yet they point to a sound event-planning habit: electrical equipment needs appropriate protection and installation. Do not improvise circuits, connect equipment beyond the approved plan, or run cords through areas where guests walk. Let the venue, a qualified electrical provider, or the rental company determine the arrangement and provide operating directions.
If a generator is considered, the U.S. Consumer Product Safety Commission warns that portable generators emit carbon monoxide and must run outdoors, away from doors, windows, and vents. The event organizer should never pick a generator location from a generic article. The property owner, provider, and public-safety authority must approve the actual plan.
Make guest flow part of the floor plan
Guest flow starts at parking and does not end until exit. Draw it as arrows on the event map. Where do people arrive? What do they see first? Can two groups pass each other? Where will a family stop to look at a sign? What happens when a food line forms? These questions are more useful than guessing how “busy” the market will feel.
Build a route that has a clear beginning and visible choices. Give the information point a position near the entrance. Put high-interest activities where a crowd will not block the first few booths. Set seating away from the main aisle. Keep service routes for staff and vendors separate where the site allows it. Event staff should protect emergency access and any required clear routes throughout the day.
Use furniture and barriers with purpose
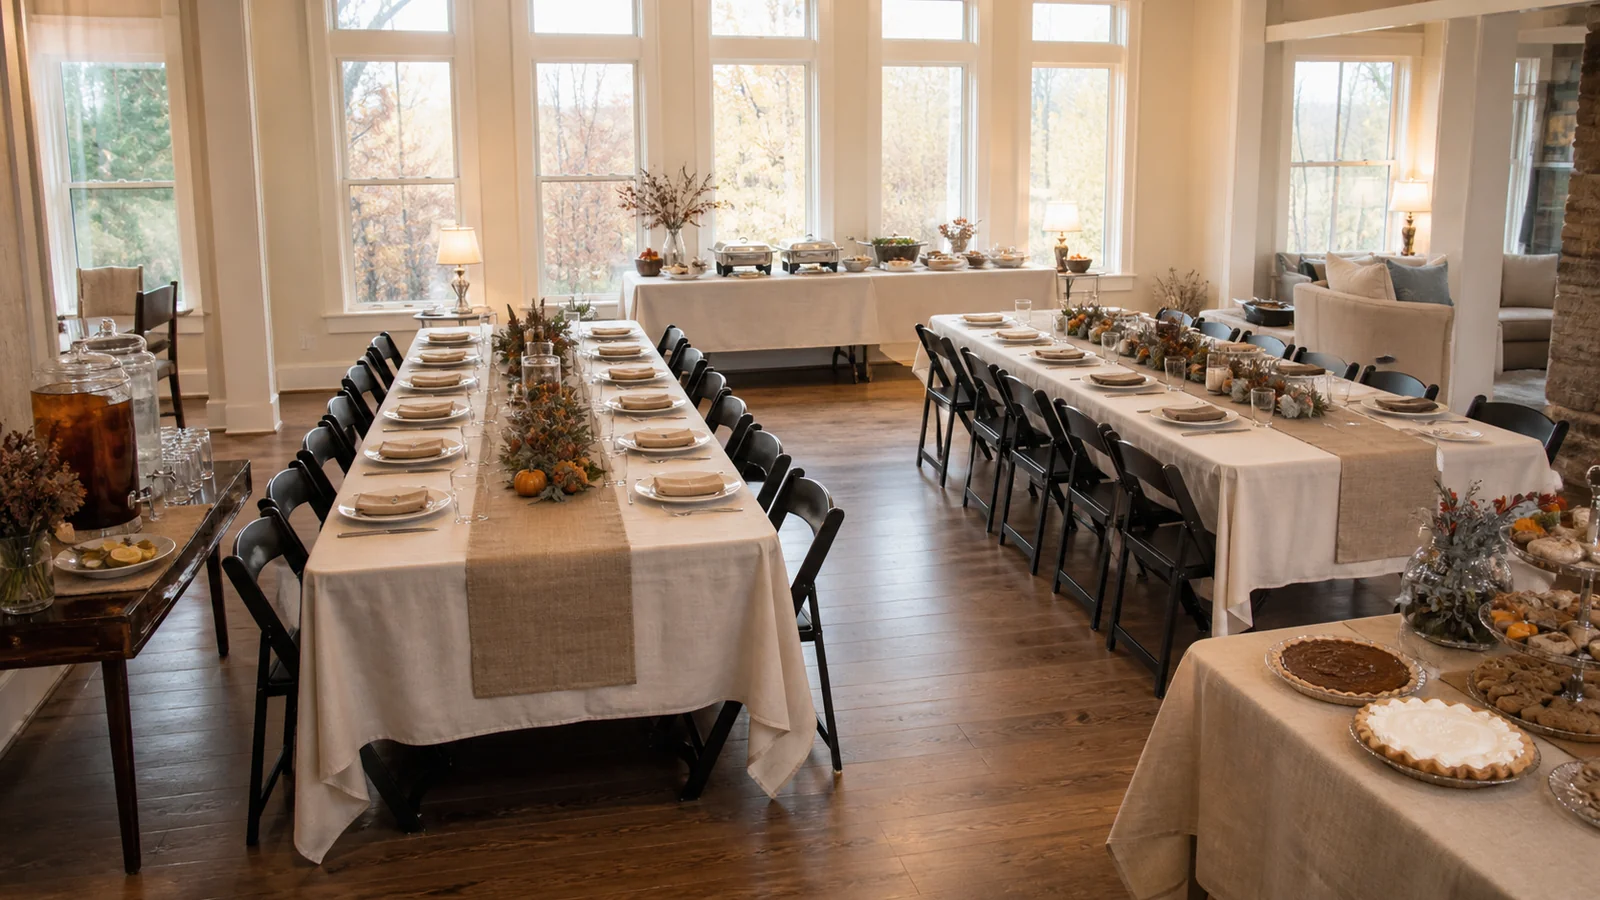
Tables can support vendor displays, check-in, food service, and staff operations. Chairs give vendors and volunteers a place to sit, but they need a spot that does not protrude into circulation. Crowd-control items can guide a queue, protect a staff work area, or mark a closed service route. Each item should be placed for a specific reason rather than as decoration.
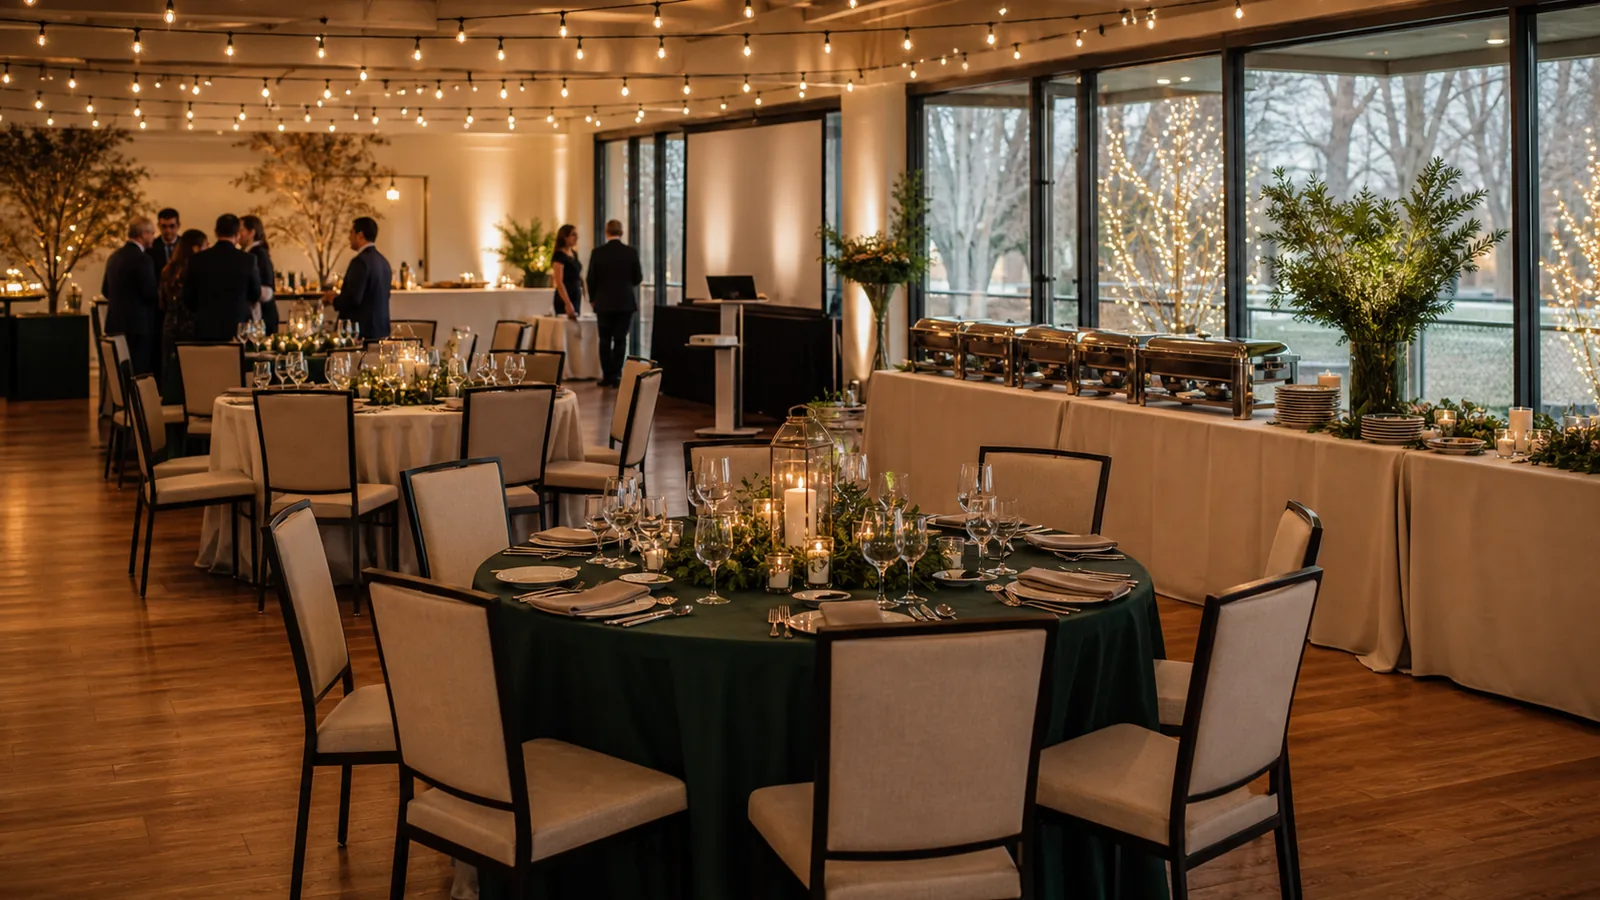
HPR’s rental catalog includes categories for tents and structures, tables and chairs, lighting and climate control, and staging and crowd control. The catalog is a place to start the conversation. It is not a statement that a given item is open for your date or suitable for your venue.
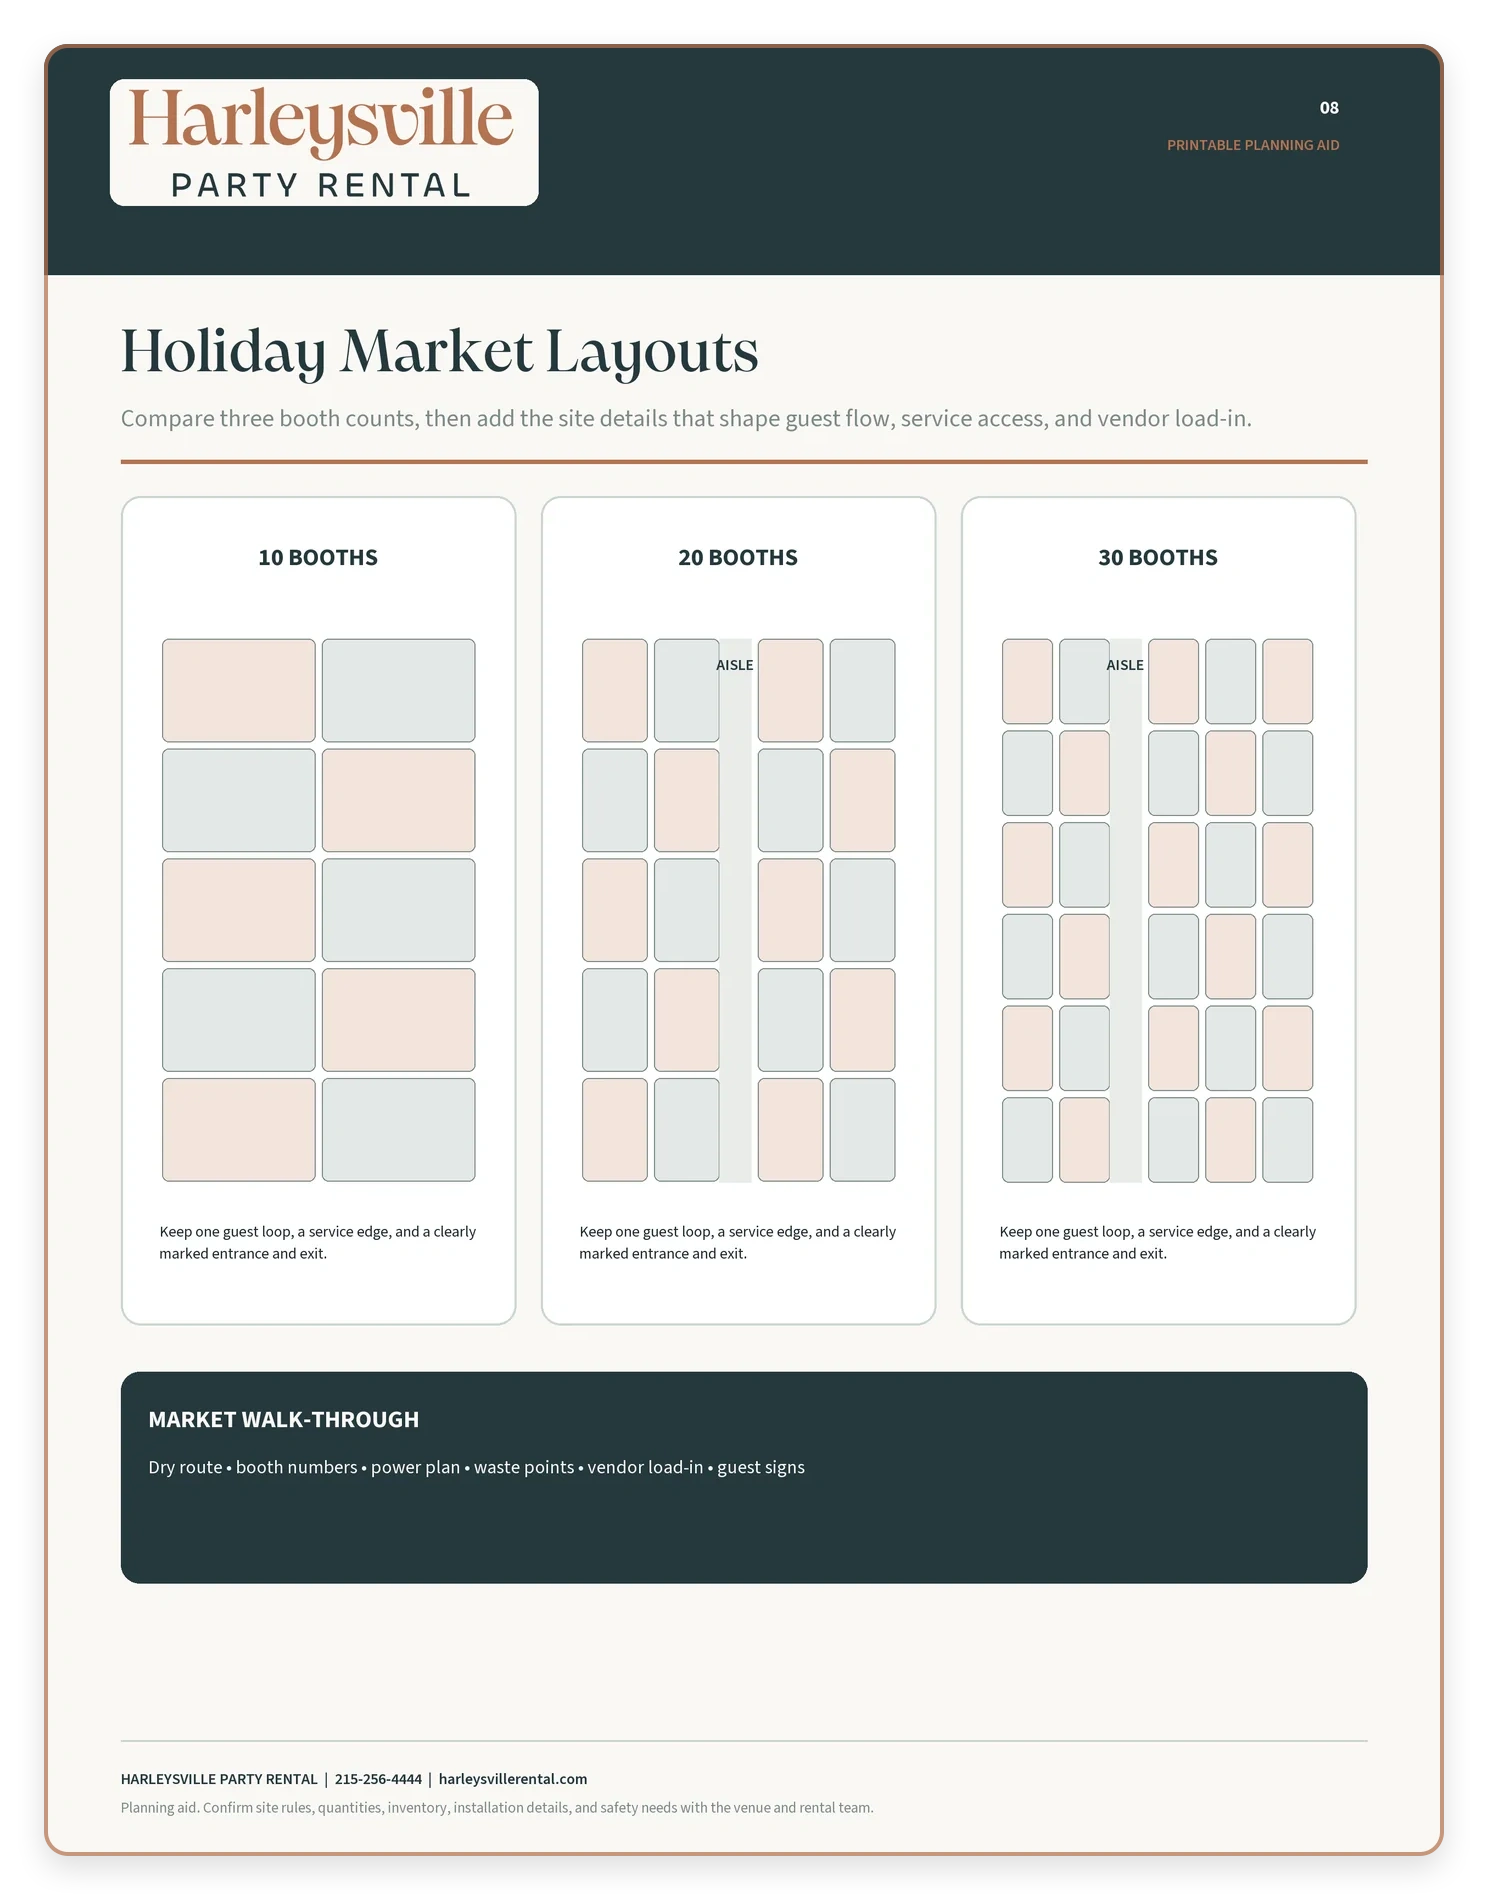
Open the full-resolution planning guide to print or save.
Review Staging & Crowd Control rentals when discussing approved queue and service boundaries.
Prepare for weather without blocking the market
Weather planning should preserve safe travel and vendor access. Start with the decision points: what forecast or site condition triggers a change, who makes the call, and how will vendors and guests be told? Then create versions of the map for light rain, wind, cold weather, and a move indoors if that is possible.
Tents and sidewalls can be part of a weather plan, but their use depends on the tent, the site, event conditions, and provider directions. Confirm the chosen tent’s setup needs, compatible accessories, entrances, lighting, and any heat or power plan with HPR and the property owner. Never make your own changes to rented equipment or placement during the event.
For holiday markets that continue after dark, plan lighting for arrival, routes, vendor service, restrooms, and exit first. Decorative light comes after people can move safely and staff can work. The approved provider should handle equipment setup and explain any operating limits.

A seven-step market setup sequence
- Secure the site and approvals. Confirm the event footprint, hours, vehicle access, rental conditions, and all requirements with the property owner and applicable authorities.
- Set the vendor module. Define the booth footprint, required aisles, vendor check-in, load-in route, and vehicle-removal time.
- Map guest and service routes. Add entrances, exits, information, seating, food, restrooms, accessible travel, emergency access, and staff space.
- Collect power requests. Ask for equipment details from vendors and submit the total plan to the venue or qualified provider.
- Build the rental request. Send HPR the date, map, site photos, dimensions, event hours, access details, and the purpose of each tent, table, chair, light, or crowd-control item.
- Issue the vendor sheet. Give every vendor their assigned space, arrival instructions, parking plan, rules, weather plan, and contact details.
- Inspect before opening. Walk routes, booths, lighting, signage, exits, cords, and service areas with the event lead and site contacts.
What to include in a rental quote request
An informed quote request lets the rental team respond to the real event rather than a blank product list. Include the date, location, site surface, expected vendor and guest counts, event hours, delivery window, pickup window, maps, photos, and the property contact. Tell the team whether a tent will cover vendors, check-in, food service, or seating. Name any electrical, lighting, weather, or delivery concerns you already know.
HPR’s Seasonal & Holiday Gatherings page presents rental help for seasonal celebrations, and its rental catalog gives organizers categories to explore. For a craft fair or holiday market, use those pages as planning references, then confirm the actual order through a current quote. Event approvals, vendor rules, insurance, staffing, and public safety remain with the organizer and property owner.
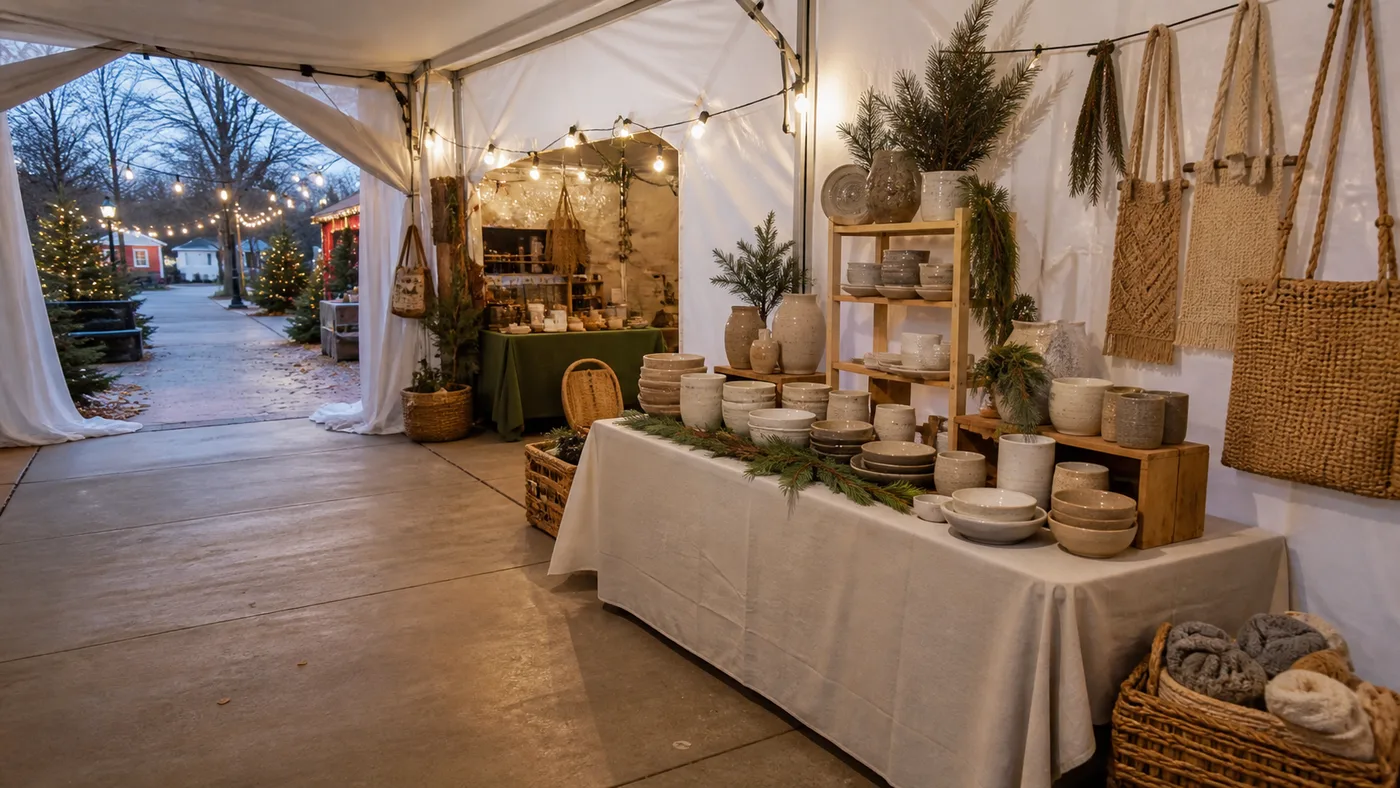
HPR’s Seasonal & Holiday Gatherings page offers a starting point for the market’s weather and equipment conversation.
FAQs
How much space does each market vendor need?
It depends on the vendor’s booth, display, checkout area, products, and the guest route around it. Define a standard booth module, then reserve additional space for vendors who report racks, large displays, or demonstrations.
Should all vendors be under one tent?
One large tent can simplify weather cover and lighting, but separate tents or open-air rows can fit some properties better. Let the site map, property rules, weather plan, guest circulation, and rental-team review guide the decision.
Can vendors bring their own extension cords?
That is a venue and event-policy question. Collect each vendor’s electrical needs in advance and have the property owner or qualified provider approve the power plan. Do not allow unplanned equipment or cords to alter guest routes.
What is the best way to prevent market bottlenecks?
Map entrances, vendor rows, food lines, seating, and exits before selling booth spaces. Keep display tables and queues inside assigned areas, use signs that make the route obvious, and inspect the layout before opening.
Plan the market around the site
Bring HPR your date, venue or property contact, vendor count, map, event hours, delivery details, and weather concerns. The team can discuss tents, tables, chairs, lighting, crowd-control items, and other rental options that are currently available for your market. Request a quote to start with a site-aware rental conversation.